




Joshua Tree
Photographing Joshua Tree
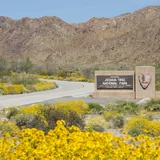
Joshua Tree gives a photographer more to work with than almost any place a couple of hours from Los Angeles: low, raking desert light, granite boulders the size of houses, and one of the darkest skies in Southern California. The national park's west entrance is about a 25-minute drive from the house, and the park never closes, so you can be set up on a boulder field before the sun clears the horizon and still be shooting the Milky Way at midnight. This guide covers the light, the compositions, the night sky, and the gear and manners that keep both your camera and the desert in good shape.
Desert Light Through the Day
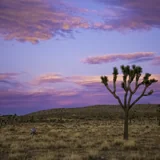
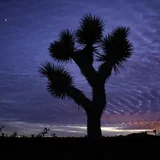
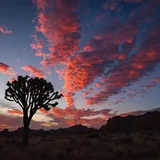
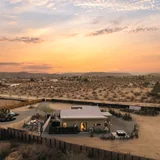
The two most useful hours here are the first hour after sunrise and the last hour before sunset. When the sun sits low, its light rakes sideways across the granite and the branching yuccas, pulling out every ridge and pocket of texture and warming the rock toward gold and amber. Shoot away from the sun to keep that texture, or straight into it for rim-lit silhouettes of a Joshua tree against a pale sky. This low-angle window is short in the desert, so pick your composition beforehand and be standing on it early.
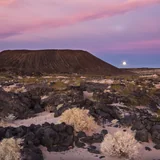
Blue hour bookends the golden ones. For roughly twenty to thirty minutes before sunrise and after sunset, the sky glows in soft pinks, violets, and cool blues while the land holds an even, shadowless light. It is a forgiving time for wide landscapes, and the pastel gradients over the boulders photograph beautifully without any harsh contrast to fight. Bring a tripod, because you will be working at slower shutter speeds as the light drops.
Midday is the hard part. From late morning to mid-afternoon the sun is high and the contrast is punishing, which flattens the boulders and blows out the sky. Use that stretch for shaded slot-like gaps between rocks, for tight detail and pattern work, for black-and-white, or for a swim and a rest back at the house before the light turns again. Because the park is open 24 hours a day and there is no timed-entry ticket or reservation to drive in, you are free to arrive in the dark and stay late. When the entrance stations are unstaffed at night the gates stay open, so you can come and go around your shoot rather than the park's clock. Plan sun and shadow angles with an app like PhotoPills before you leave, and for ideas close to home, the post on the best sunset spots near the house and the one on golden hour in the cactus garden map out where the last light lands.
Composing With Joshua Trees
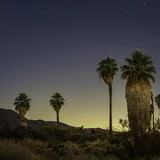
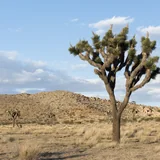
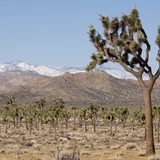
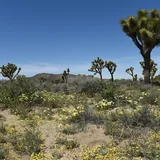
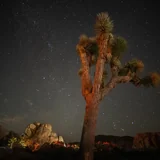
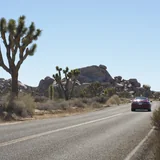
The trees are the reason a lot of people come with a camera, and they reward a low angle. Despite the name, the Joshua tree is a yucca — a giant relative of the agave, with no growth rings and no true wood. They grow slowly, on the order of half an inch to three inches a year, and live around 150 years on average, with some estimated over 300. Mature ones can stand over 40 feet tall, and rare giants approach 50; treat those figures as estimates, since ages here cannot be counted from rings. What matters for a photograph is the shape: every arm forks at an odd angle, so a single tree reads as a strong graphic silhouette against a clean sky.
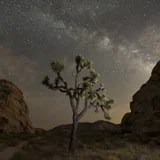
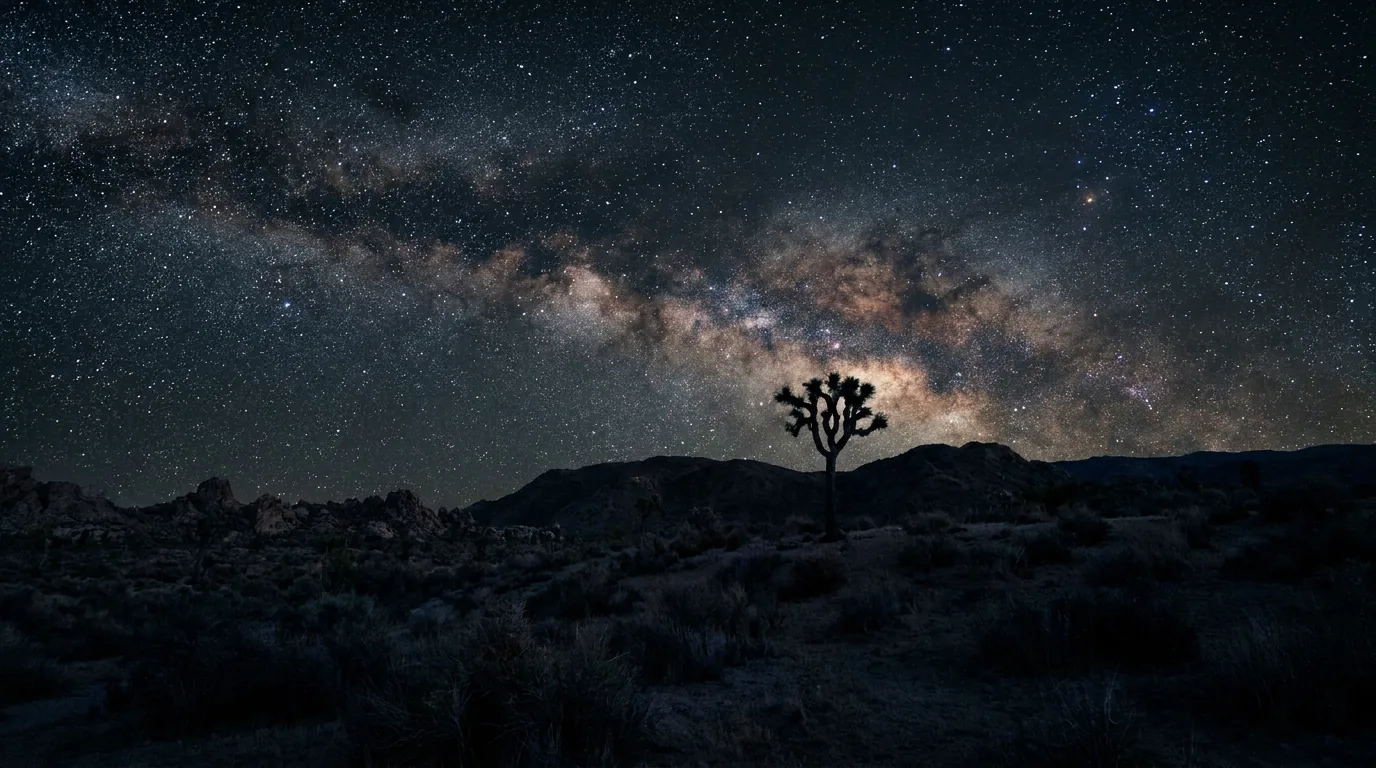
Get the camera down low and put a lone tree against the horizon at golden hour, or use one as a foreground anchor for a night-sky frame. A dense stand shot with a longer lens compresses the trees into an overlapping thicket, which can say "desert forest" better than a wide sweep. Put a person in the frame now and then for scale, since the size of a big Joshua tree is hard to read otherwise.
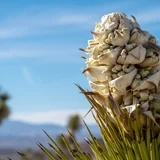
If you visit in late winter or early spring, you may catch the creamy flower clusters, which appear roughly mid-February into April — but only in years with well-timed rain and a proper winter freeze. They do not bloom every year, and intensity swings widely, so check the park's current wildflower report rather than counting on it. The flowers exist because of the yucca moth, the only creature that pollinates them; the moth packs pollen onto the bloom and lays its eggs inside, and neither species can reproduce without the other. Whatever the season, do not climb the trees or snap a branch for a cleaner frame. They are slow to grow, fragile, and increasingly stressed by a warming climate, and a broken limb does not come back in your lifetime. If the tree itself interests you, the story of the Joshua tree goes further into its biology and history.
Shooting the Boulders
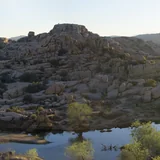
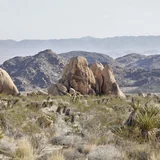
The stacked rock piles are monzogranite, a light, biotite-rich granite that formed from molten magma which oozed upward and cooled while still miles below the surface more than 100 million years ago. Underground it cracked along three sets of rectangular joints; groundwater then seeped along those cracks and weathered the corners into rounded shapes, the way water rounds an ice cube. When the climate dried out, flash floods stripped away the softened material and left the rounded boulders stacked one on another. Knowing that helps you see the forms: the rounded blocks, the rectangular fractures, the way piles balance.
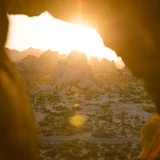
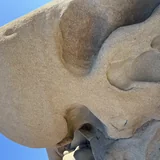
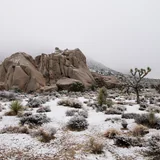
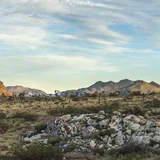
Several formations are worth building a shoot around. Skull Rock sits right beside Park Boulevard near Jumbo Rocks Campground, its two eye hollows carved by pooling water over millennia; go at first light to beat the roadside crowds, because it fills up by mid-morning. The natural granite arch on the Arch Rock trail is an easy target — a short spur of roughly a third to half a mile reaches it from the White Tank area, while the fuller lollipop loop from the Twin Tanks trailhead runs about 1.4 miles, so know which start you mean. Cap Rock, Split Rock, Hidden Valley, and the Wonderland of Rocks, a labyrinth of domes reaching up to about 300 feet, all give you scrambled piles and framing gaps. Low, raking light at either end of the day makes the granite texture pop and warms its color; blue hour cools it to a moody gray.
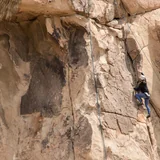
Climbers are part of the scenery — the park holds more than 8,000 climbing routes and over 2,000 boulder problems — and a climber high on a face is one of the best ways to show scale. If you want to photograph the sport itself, the guide to rock climbing in Joshua Tree covers where the action is. One caution: the Barker Dam loop passes a petroglyph panel, and rock art is fragile and protected. Photograph it, but never touch it, chalk it, or wet it to make it show up better. For more on how these piles came to be and which ones to seek out, see the rock formations of Joshua Tree.
Keys View and the Wide Desert
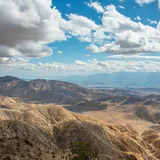
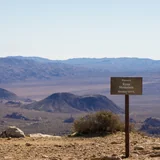
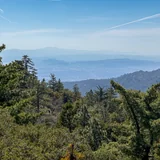
When you want the big picture instead of a single boulder, drive up to Keys View. The overlook sits at roughly 5,185 feet with a short paved loop of about a quarter mile, and on a clear day it looks out over the Coachella Valley, the San Andreas Fault running along the valley floor, the Salton Sea in the distance, and the San Jacinto and San Gorgonio peaks. It is a classic sunset spot, so expect company; a telephoto lens compresses the fault line and the ridges into layered bands, while a wide lens takes in the whole basin.
Haze is the catch. The Coachella Valley below can push a lot of airborne murk up against the mountains, which softens distant detail, so a clear, breezy day gives you the sharpest view, and mornings are often cleaner than late afternoons. Bring a layer, because the elevation makes the overlook noticeably cooler and windier than the valley floor, especially at dawn.
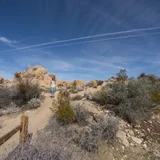
For a higher, earned viewpoint, Ryan Mountain is the classic climb — a strenuous out-and-back of about three miles round trip that gains around 1,050 feet to a summit near 5,457 feet, with panoramas over the whole boulder country. It is a real hike, so carry water and start early, and skip it in the midday heat. Other trails open up wide desert compositions too; the roundup of the best hikes in Joshua Tree lists lengths and difficulty so you can match a walk to the light you are chasing. Whatever you shoot up high, watch your foreground: an interesting rock or a wind-shaped shrub in the near frame keeps a wide desert view from reading as empty.
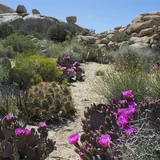
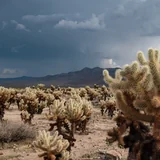
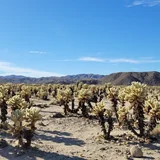
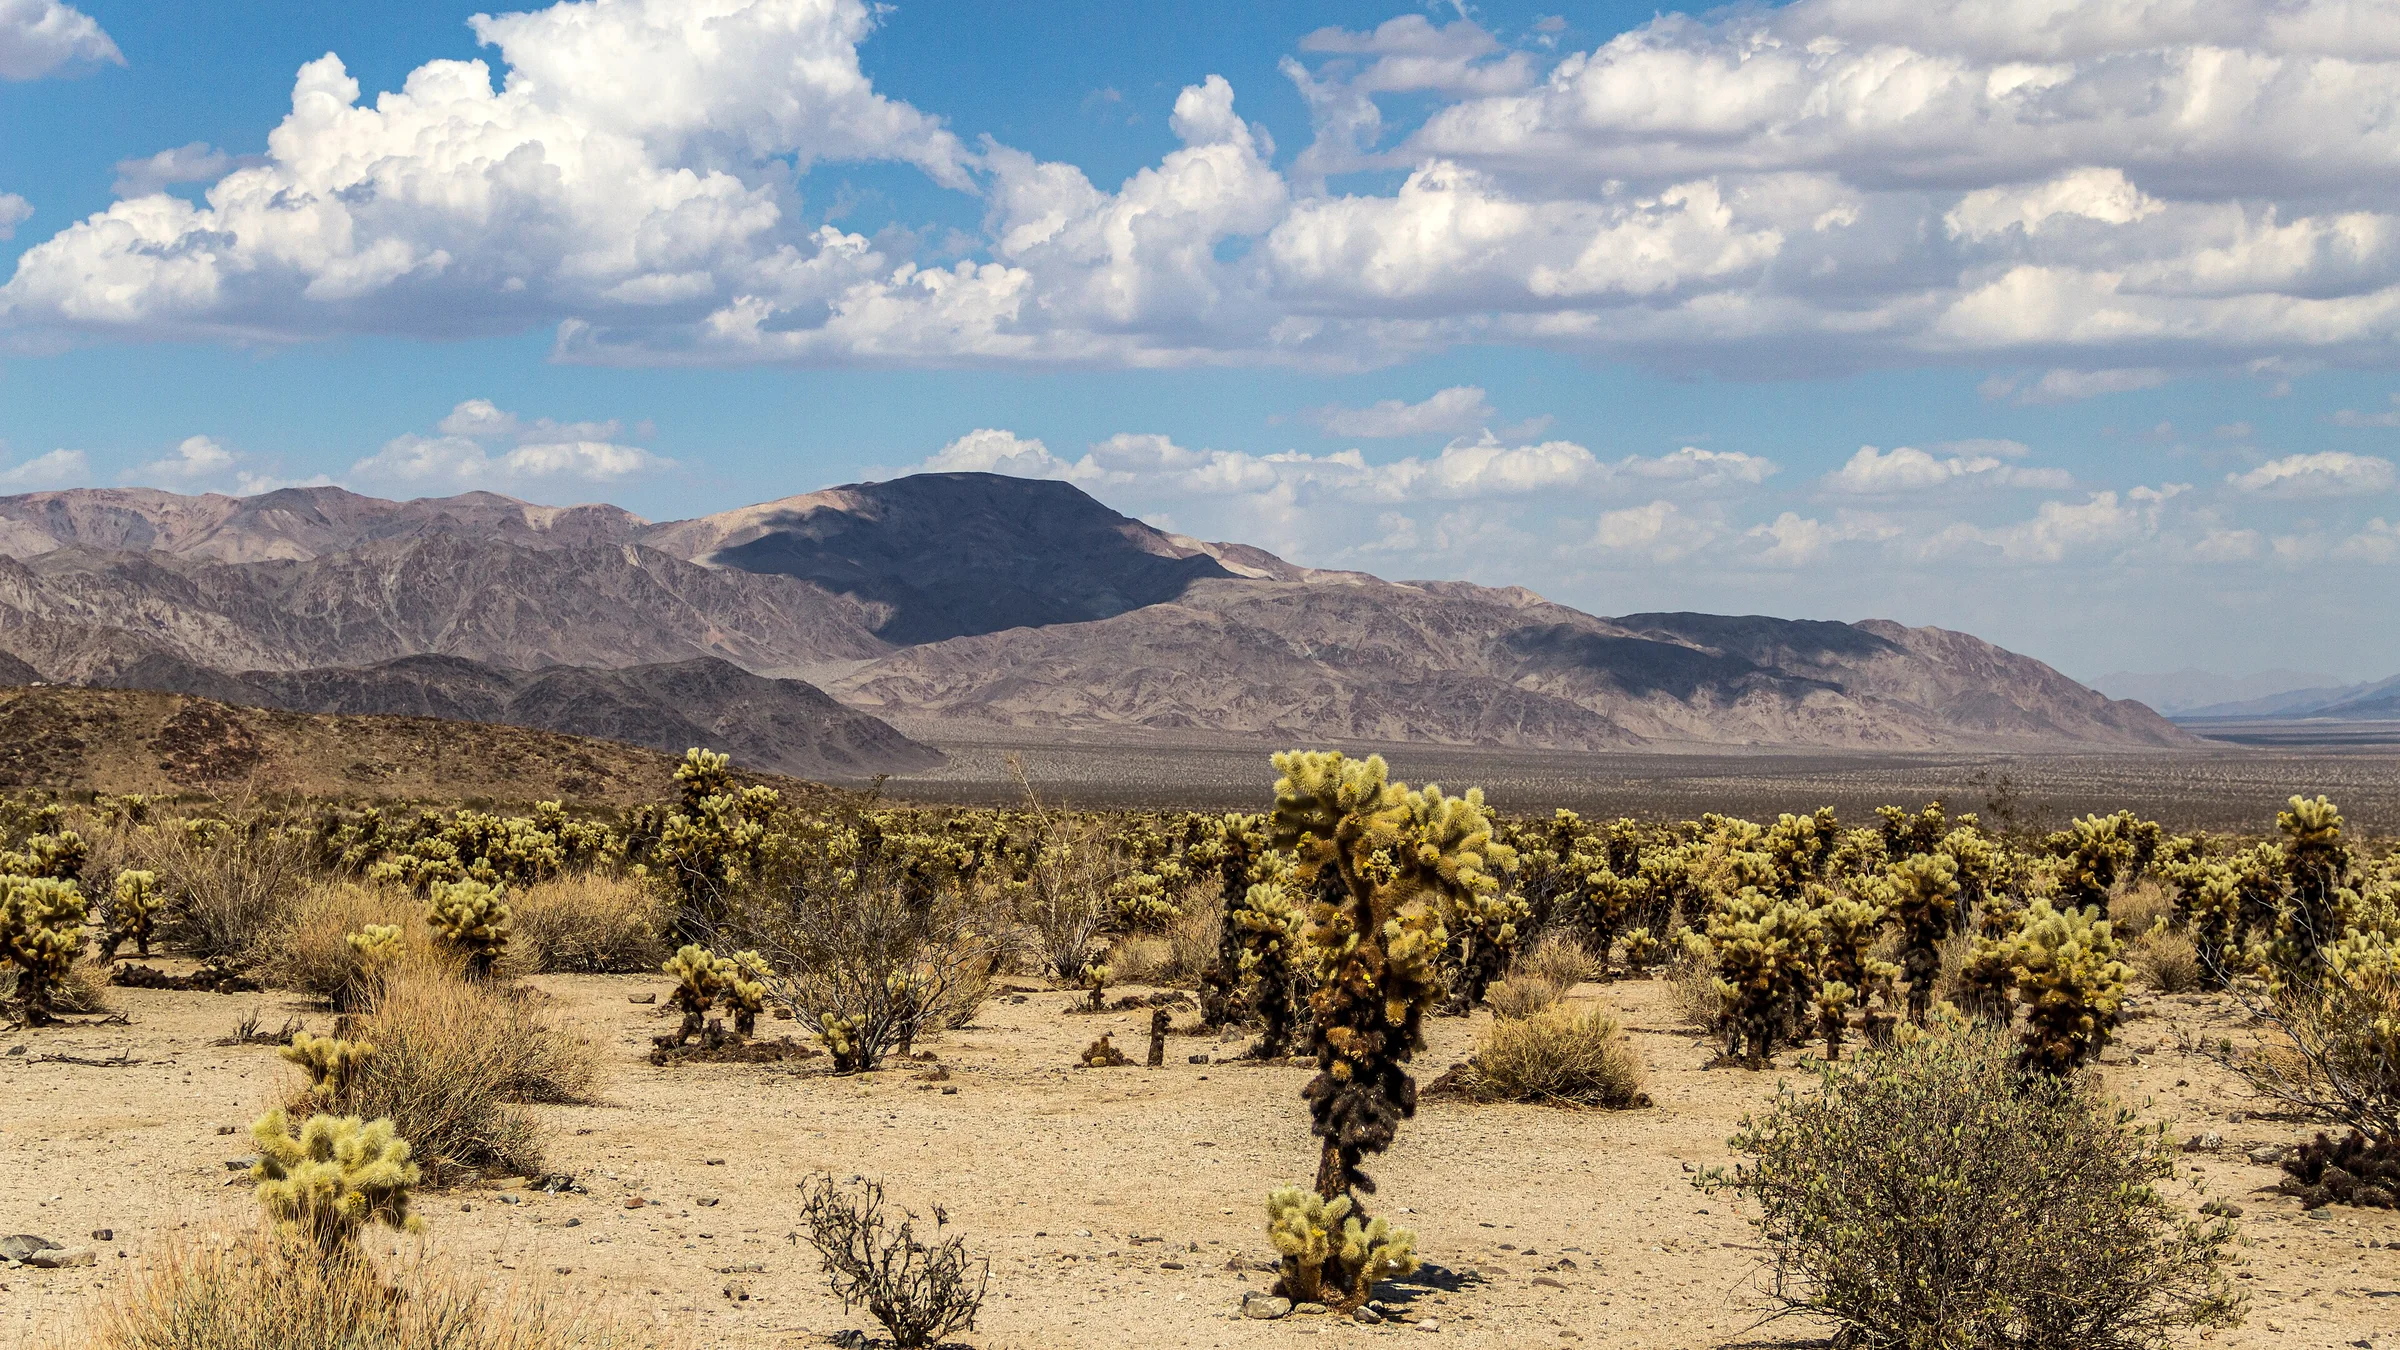
One more thing decides what a wide frame can hold here: Joshua Tree covers parts of two different deserts, and the boundary cuts right through it. The higher, cooler Mojave country to the west and north is Joshua-tree-and-yucca land, all granite piles and branching trees; drop toward the south and east and the ground falls into the hotter Colorado Desert, where ocotillo, creosote, and cholla take over and the Joshua trees thin out. The two halves photograph nothing alike, so plan a day around each. The drive down Pinto Basin Road toward Cottonwood trades boulder country for open low-desert washes, and in a wet spring the ocotillo there throw up red-orange flower spikes, roughly March into May — check the park's current bloom report before you count on a display. At the Cholla Cactus Garden along that road, low sun behind the plants lights the fuzz of spines into a glow for a classic backlit frame; keep to the quarter-mile loop and well clear of the segments, which detach at the lightest touch. The guide to the cholla garden and the south maps the drive.
Photographing Desert Wildlife
The sparse desert cover that makes for clean landscape frames also makes animals easier to spot than in most national parks, and more than 250 bird species have been recorded here. Finding subjects here comes down to patience and a longer lens. The greater roadrunner, an uncommon ground-dwelling member of the cuckoo family, would rather run than fly and hunts lizards, snakes, and insects out in the open, a lively frame if you can keep up. The cactus wren, the largest wren in North America and a common resident, builds bulky nests down in the shelter of cholla, so a nest wedged among the spines is a subject in itself. Watch too for Gambel's quail moving in coveys, the red-tailed hawk soaring overhead, and the glossy black phainopepla, which feeds heavily on desert mistletoe berries.
Most desert mammals stay out of the midday heat, so the same golden hours that flatter the rock are the ones that bring animals out. Coyote, bobcat, kit fox, black-tailed jackrabbit, and desert cottontail are all generally most active around dawn and dusk — plan for it rather than counting on it, since a sighting is never certain. Desert bighorn sheep are listed as uncommon and keep to the rocky mountains, so scan the high slopes around places like Ryan Mountain and give them plenty of room if you find them. Reptiles run on the sun: the park records 45 reptile species, and as cold-blooded animals they are most active in spring and fall and shelter from both midday heat and winter cold. A chuckwalla wedged into a rock crevice, a sidewinder crossing loose sand, or a heat-tolerant desert iguana out on a flat all make good close subjects for a telephoto.
Two desert animals reward a photographer who times it right. In autumn, tarantulas turn up wandering in the open — almost always males out looking for a mate — and the park service calls them timid, noting they will not bite unless seriously provoked; a low, careful frame of one crossing the gravel is a striking shot, no handling required. After dark, the desert hairy scorpion, the largest scorpion in North America at around five inches, glows blue-green under ultraviolet light, so a UV flashlight picks them out on a night walk; its venom is mild to people, but there is never a reason to touch one. Whatever you photograph, keep your distance and let the lens close the gap — don't bait, chase, or crowd an animal for a frame. The Mojave desert tortoise, a threatened species, is a special case: it is illegal to handle one, it spends most of its life underground, and it emerges mainly in spring, so if you are lucky enough to find a tortoise, photograph it from well back and let it go on its way. For which animals live where and how to read their habits, the field guide to Mojave wildlife goes deeper.
Night Sky and Milky Way Basics
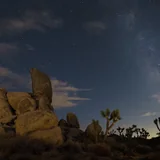
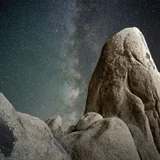
The park was designated an International Dark Sky Park in 2017 at the Silver Tier level, which reflects excellent dark skies with some light-dome intrusion from the surrounding metros. In the darker interior the sky reaches roughly Bortle Class 2 to 3 — dark enough to show the structured band of the Milky Way, airglow, and zodiacal light to the naked eye — though it varies with where you stand, and areas near the boundaries and the western entrances are brighter, so treat the class as approximate. The remaining glow on the horizon comes mostly from Los Angeles, the Coachella Valley, and Las Vegas.
For the bright galactic core, timing is everything. The core is visible from the northern hemisphere roughly from late spring into early autumn: in spring it sits low in the southeast just before dawn, by summer it stands high in the south during late evening, and by early autumn it appears earlier and sets sooner. It is essentially gone from deep-winter nights. Those windows shift through the season, so plan a specific night with a planner like PhotoPills or Stellarium, and aim for the days around a new moon when the sky is darkest.
The Milky Way is not the only thing worth framing. The constellations overhead turn with the seasons, and knowing what is up helps you set a subject under a named sky. Winter evenings bring Orion with its nebula, brilliant Sirius in Canis Major, and Taurus carrying the Pleiades star cluster, while the fainter winter Milky Way arches high. Spring swings Leo, the Big Dipper, and orange Arcturus overhead, along with the galaxy-rich patch of sky around Virgo and Coma. Summer is the core's own season, rising through Scorpius — marked by red Antares — and Sagittarius, whose 'Teapot' shape points toward the center of the galaxy, with the Summer Triangle of Vega, Deneb, and Altair standing high. Autumn opens the Andromeda Galaxy, the most distant thing you can pick out with the naked eye, along with the Great Square of Pegasus and the W of Cassiopeia. The bright naked-eye planets — Venus, Jupiter, Saturn, Mars, and low Mercury — can drop into a frame too, but which are up changes month to month, so check a current sky guide for your dates.
As a starting point for a nightscape, try a wide, fast lens in the 14 to 24mm range at f/2.8 or wider, an ISO somewhere around 1600 to 6400, and a single exposure of roughly 15 to 25 seconds on a fixed tripod. Those are ranges, not fixed settings — the right values depend on your lens, sensor, and how dark the sky is that night. To keep stars as points rather than short trails, the 500 rule gives a rough maximum exposure: 500 divided by your focal length in millimeters, so a 20mm lens allows about 25 seconds. On a crop sensor, divide by the crop factor first, and if you want tighter pinpoints, some photographers use a stricter 300 rule instead. Anchor the frame with a Joshua tree or a boulder so the sky has something to sit above.
Give your eyes time, too: it takes about 20 to 30 minutes in the dark to adapt for good night vision, and one glance at a white phone screen resets it, so use a dim red light and dim your camera's LCD. The park runs free ranger night-sky programs on a seasonal schedule, and there is an annual Night Sky Festival in the fall, usually over several nights in October, with telescopes from Southern California astronomy clubs. It is ticketed, it can sell out, and the dates change every year, so check the park's current event page before you plan around it. To read the seasonal constellations and go deeper on the science, see the night sky over Joshua Tree, and the dark-sky stargazing guide points you to specific pullouts.
Gear for the Desert
You can travel light here, but a few things earn their place in the bag. A sturdy tripod is not optional once the light drops — blue hour and night work both need it. For lenses, a wide, fast prime handles the Milky Way; a mid-range zoom covers the trees and boulders; a telephoto compresses the layered ridges from Keys View; and a macro or a close-focusing lens is worth carrying in spring for cactus flowers and the fine spines of an agave.
Round out the kit with the desert in mind:
- Filters. A circular polarizer cuts glare off the rock and deepens a blue sky, and a neutral-density filter lets you drag daytime exposures for smoother clouds.
- Power and storage. Bring more batteries than you think you need — cold nights drain them fast — and extra memory cards for long night sequences.
- A headlamp with a red mode. It keeps your dark adaptation intact and your hands free while you work a tripod in the dark.
- A remote release or intervalometer. Useful for shake-free long exposures and for star trails or time-lapse.
- Sturdy shoes. The granite is grippy but abrasive, and you will be scrambling over uneven rock.
Two desert realities outrank any of that gear. First, there is no water available inside the park interior, so carry your own — a common guideline is at least a gallon per person per day, and more in heat. Second, cell service inside the park is very limited and should never be relied on, so download offline maps before you drive in and tell someone your plan. Fuel up in Yucca Valley, Joshua Tree, or Twentynine Palms first, because there are no gas stations, stores, or restaurants inside the boundary.
Protecting Your Gear From Dust and Heat
Fine desert dust is the quiet enemy of a camera, and the wind here delivers it. Change lenses as little as possible, and when you must, do it inside a bag or the car with your back to the wind and the mount pointed down. Keep bodies zipped in the bag between shots. A rocket blower and a soft brush clear grit off the front element and around the mount; resist wiping a dusty lens with a cloth, which grinds the sand across the glass. Give the sensor a proper clean at home rather than in the field.
Heat is the next problem. Summer highs regularly top 100 degrees, and a camera or a spare battery baking in a closed car can cook. Keep the bag shaded, and never leave gear on a dark dashboard. Winter flips the challenge: nights drop into the 30s and 40s and can hit freezing, which drains batteries quickly, so keep spares in an inside pocket where your body heat holds them.
Condensation catches a lot of people at the edges of the day. When you move cold gear into a warm space — or bring a warm camera out into a cold night — moisture fogs the glass and can settle inside. The fix is patience: let the camera acclimate sealed in its bag before you open it. That applies at home base, too. After a cold night shoot, let the camera come up to room temperature inside the bag before you unpack it in the warm house, and keep sand off it near the gravel and the stock-tank pool. Take care of yourself the same way you take care of the gear — a hat, sunscreen, and water make a long day in the sun a lot safer.
Leave No Trace for Photographers
The desert is slow to heal, and a good photograph is never worth harming it. Collecting or removing natural objects — rocks, plants, cactus, wood, wildflowers, artifacts — is prohibited, so leave everything exactly as you find it. Do not pick a wildflower or a Joshua tree bloom to prop in a foreground, and do not stack or move rocks for a composition.
Stay on established roads and trails. Off-road and cross-country driving is banned to protect the soil and vegetation, and the same care applies on foot: the crusty desert ground and the low plants are easy to crush and slow to recover, so don't trample a fragile patch to reach an angle. Drones are prohibited throughout the park except with written approval from the superintendent, so leave the quadcopter at home. At the Barker Dam petroglyphs, keep your hands and your gear off the rock art.
Give wildlife room. The Mojave desert tortoise is a threatened species and it is illegal to handle one; if you find a tortoise, photograph it from a distance and let it be. Don't bait, chase, or crowd animals for a shot, and give desert bighorn plenty of space. At the Cholla Cactus Garden down in the Pinto Basin, stay on the loop and keep well clear of the teddy bear cholla — its segments detach at the lightest touch and hitch a ride on their barbed spines, which is why the park says do not attempt to pet this teddybear. Finally, be a decent neighbor to other photographers: don't monopolize a popular spot, don't sweep a bright light or a headlamp across someone's long exposure, and keep your screen dim at night. The post on desert safety and leave no trace goes deeper on all of it.
Permits for Commercial Shoots
If you are shooting for yourself — personal photos, prints for your wall, images for a non-commercial hobby — you don't need a permit, and you can work freely within the rules above. The line changes when the work becomes commercial. Commercial filming, and commercial still photography that uses models, sets, or props, generally requires a special-use permit and a fee from the park, and the rules around still photography on federal land have been shifting in recent years. If your shoot involves paying clients, a hired crew, props, staged scenes, or an engagement or wedding session, plan to contact the park's permit office well ahead of time and confirm what the current requirements are; the park service is the authority on this, and the details change.
A permit does not buy an exception to the resource rules. Even a fully permitted shoot has to stay on roads and trails, leave rocks and plants in place, keep away from sensitive sites, and follow the drone ban. If you are unsure whether your plan crosses into commercial territory, ask before you go rather than after. Sorting the permit out in advance is far easier than being turned away at the trailhead with a model and a rented lens in the car.
Where to Shoot Near the House
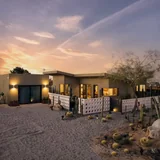
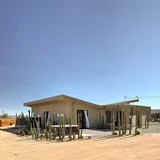
You don't have to drive into the park to make good pictures, and the house itself is built for a camera. One review put it plainly, calling out "photo-worthy spots everywhere," and that holds up in the viewfinder.
photo-worthy spots everywhere
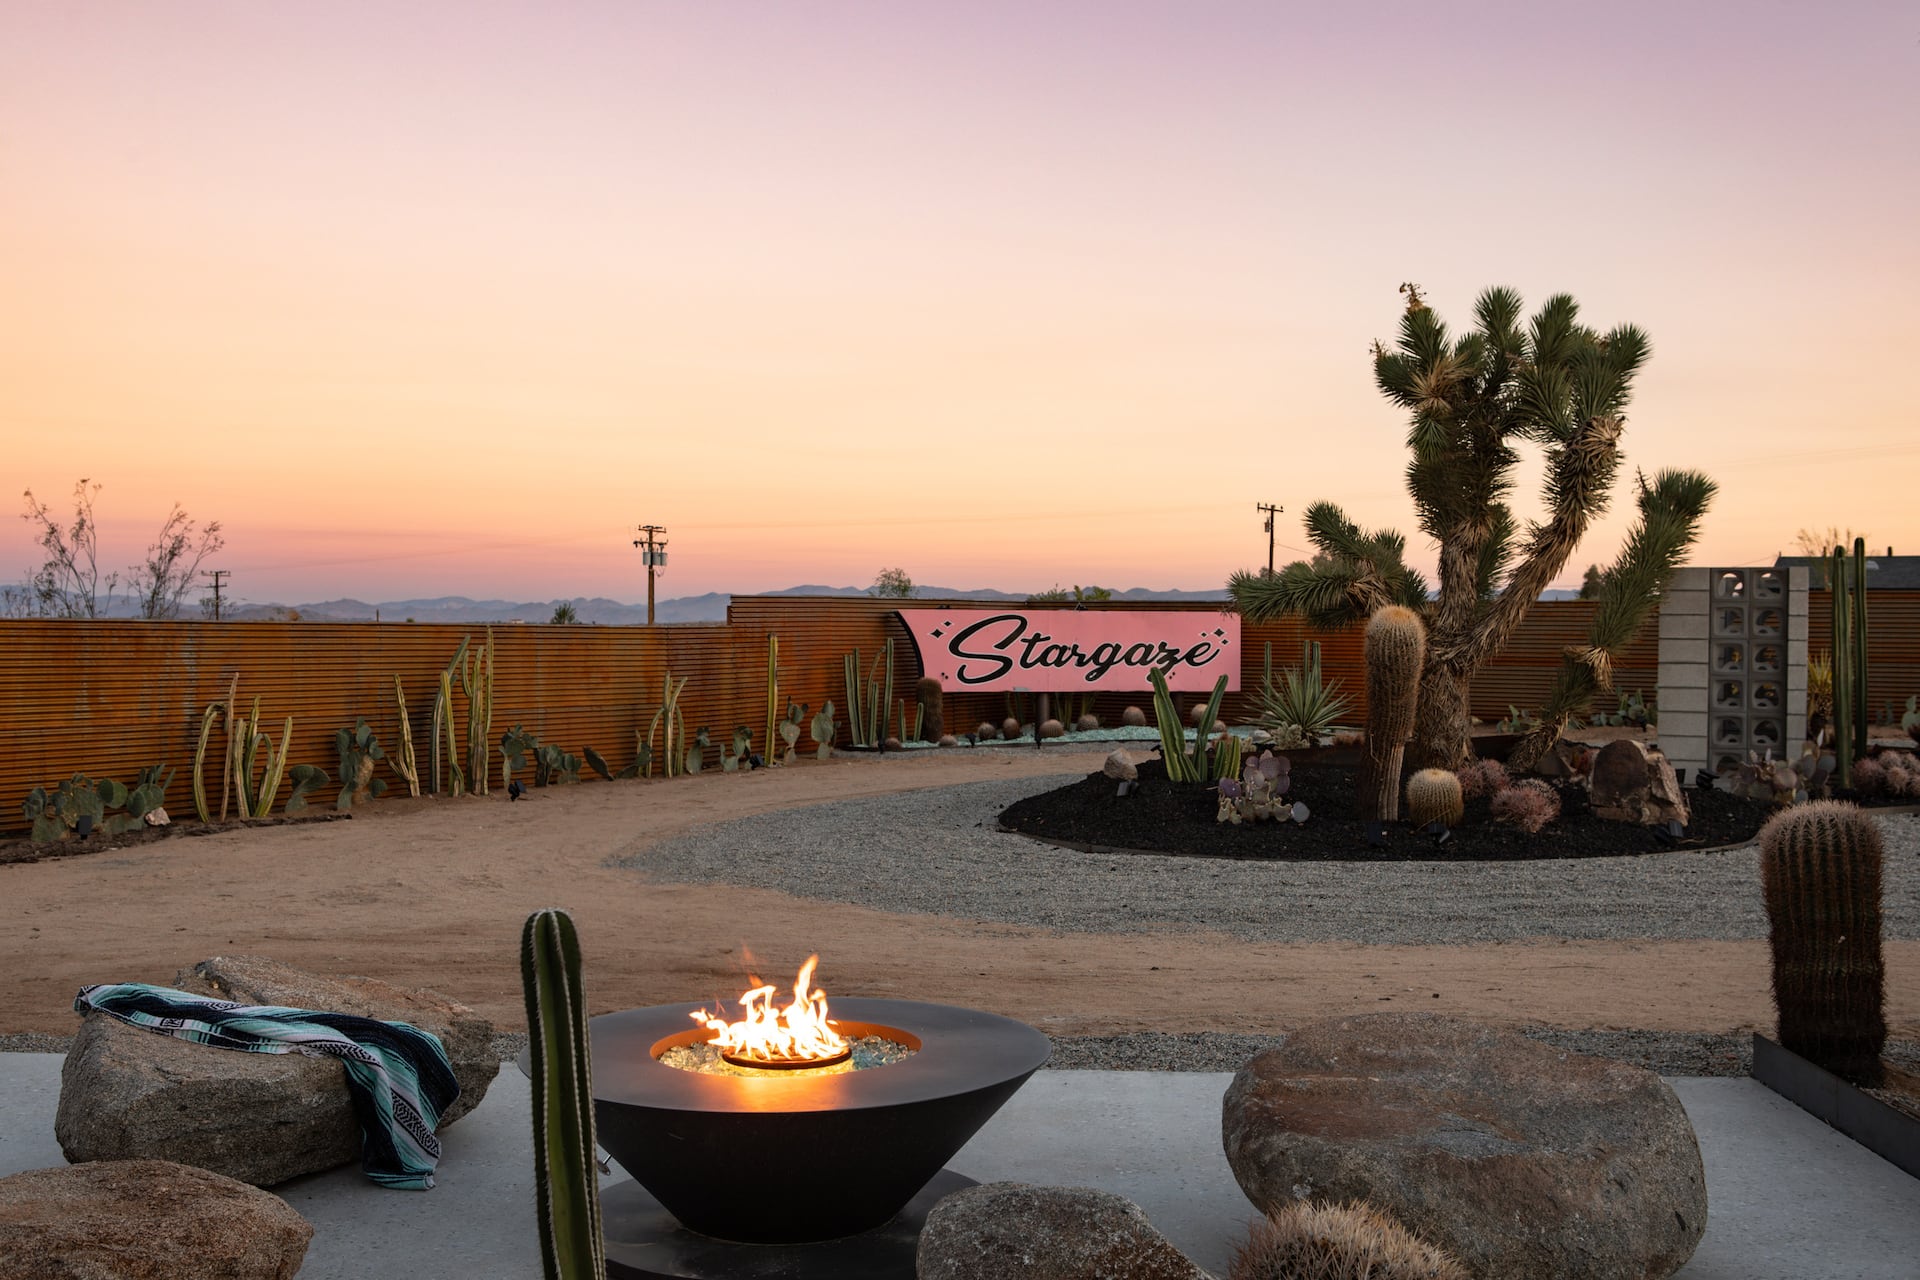
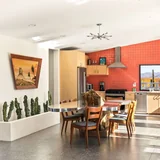
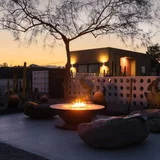
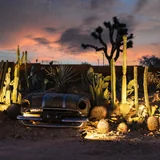
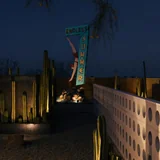
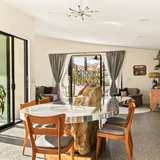
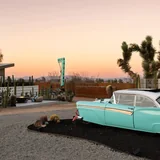
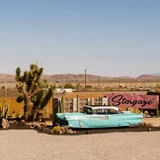
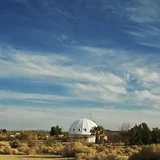
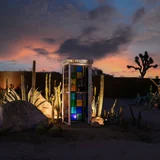
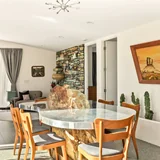
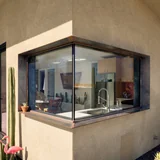
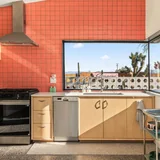
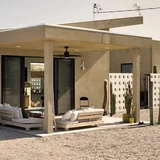
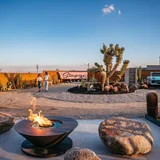
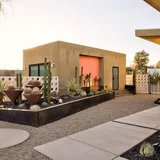
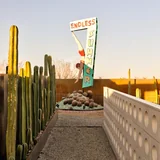
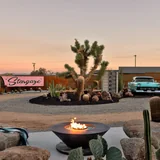
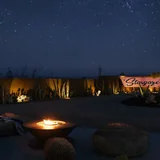
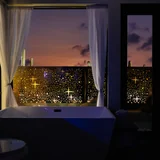
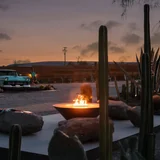
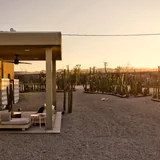
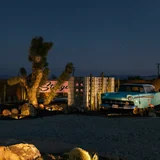
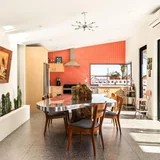
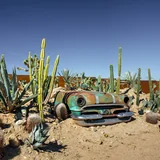
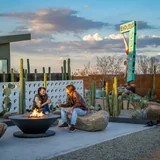
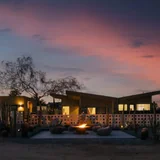
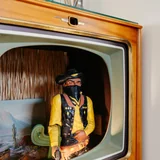
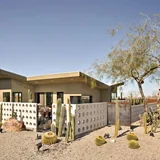
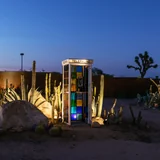
The lot is fully fenced and landscaped with thousands of cacti, agave, and Joshua trees, so golden-hour backlight through the spines gives you rim-lit detail shots without leaving the property, and the agave rosettes are ready-made subjects for a close-focusing lens. The stock-tank pool sits under a vintage painted "Endless Summer" metal sign, and the star-perforated steel privacy screen around the pool throws patterned shadows across the deck as the sun moves. The restored 1950s car turned into an open-air bed — parked on the gravel, with a custom stargazing roof that can be pulled back — makes a strong foreground for a night frame; line up the car bed under the sky and shoot the Milky Way rising above it in season. The gas fire pit, ringed by natural boulders, gives you warm evening light on faces after dark, and there is a stained-glass telephone booth, a dining table built around a natural boulder, and white breeze-block walls that all read as clean graphic shapes for detail and pattern work. The custom metalwork, including the car-to-bed conversion and the fire pit, was fabricated by Emerick's Ironworks.
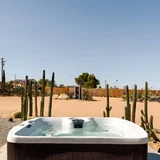
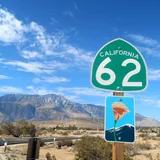
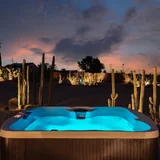
Because the property sits in the high desert away from town lights, you can shoot the night sky right from the lot without going anywhere. When you do head out, the west park entrance is about 25 minutes away, the Highway 62 corridor is good for golden-hour desert frames on the drive, and the Cholla Cactus Garden lies farther south in the Pinto Basin, roughly 12 miles below the north entrance, for a very different subject. Come back afterward to swim, warm up in the hot tub, and review the day's take.
When you are ready to plan the trip around the light, check the calendar and book your dates, and flip through the property gallery to scout the angles you'll want before you arrive.